
Last updated November 15, 2026
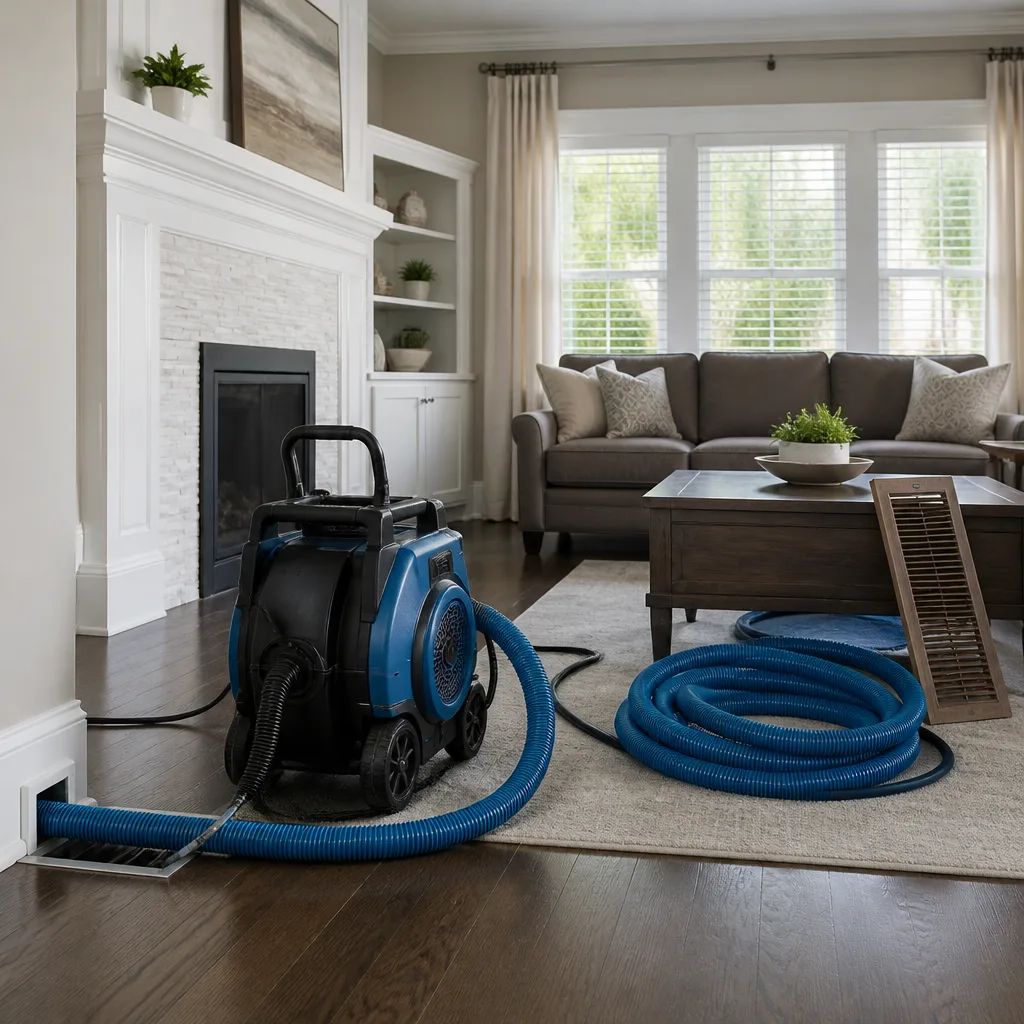 Whole-home duct cleaning
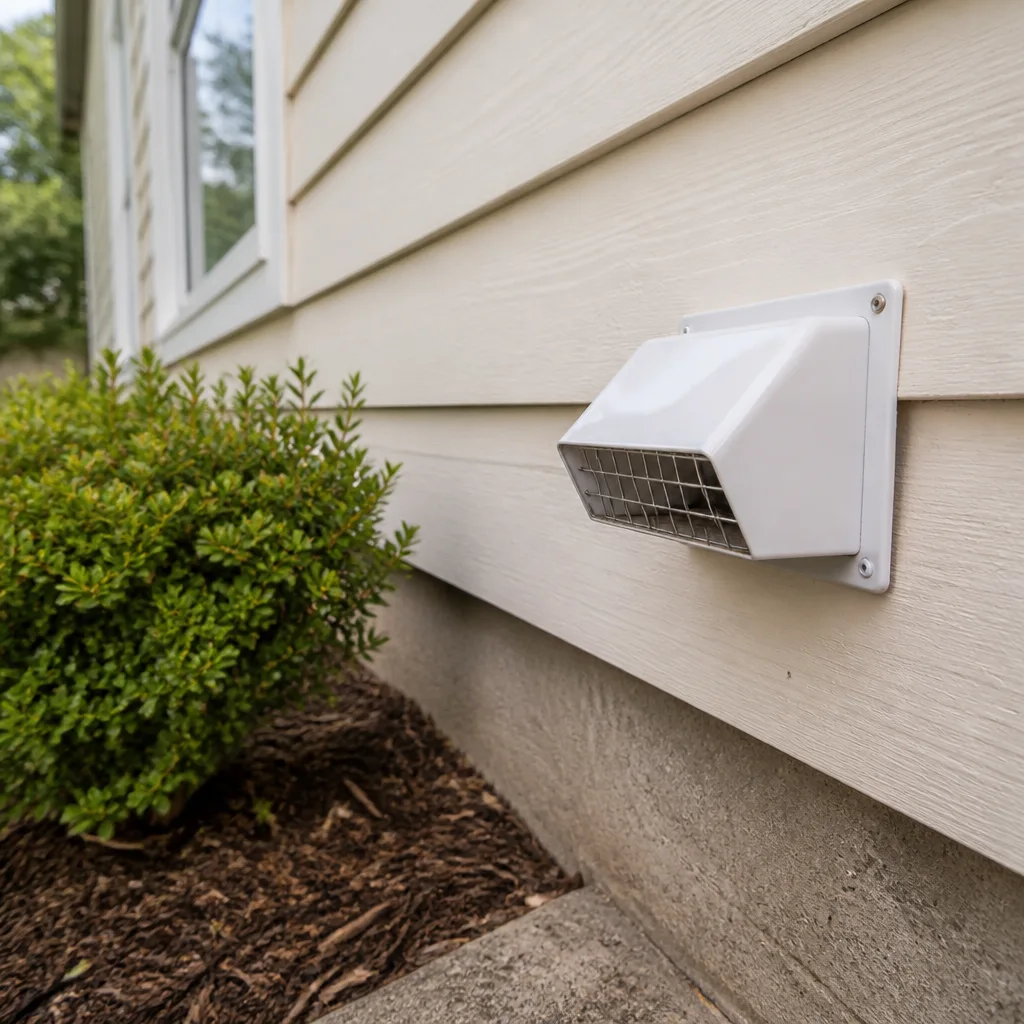 Dryer vent cleaning
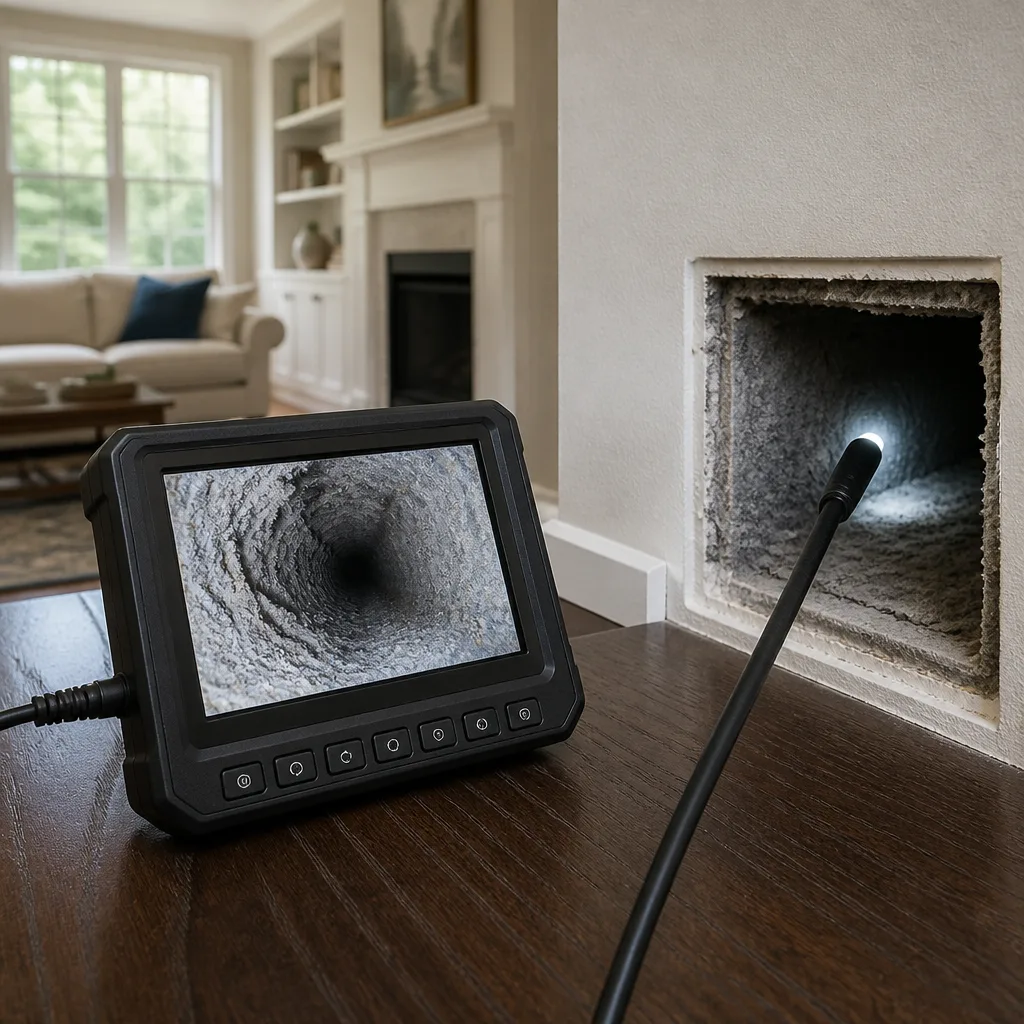 Camera inspection
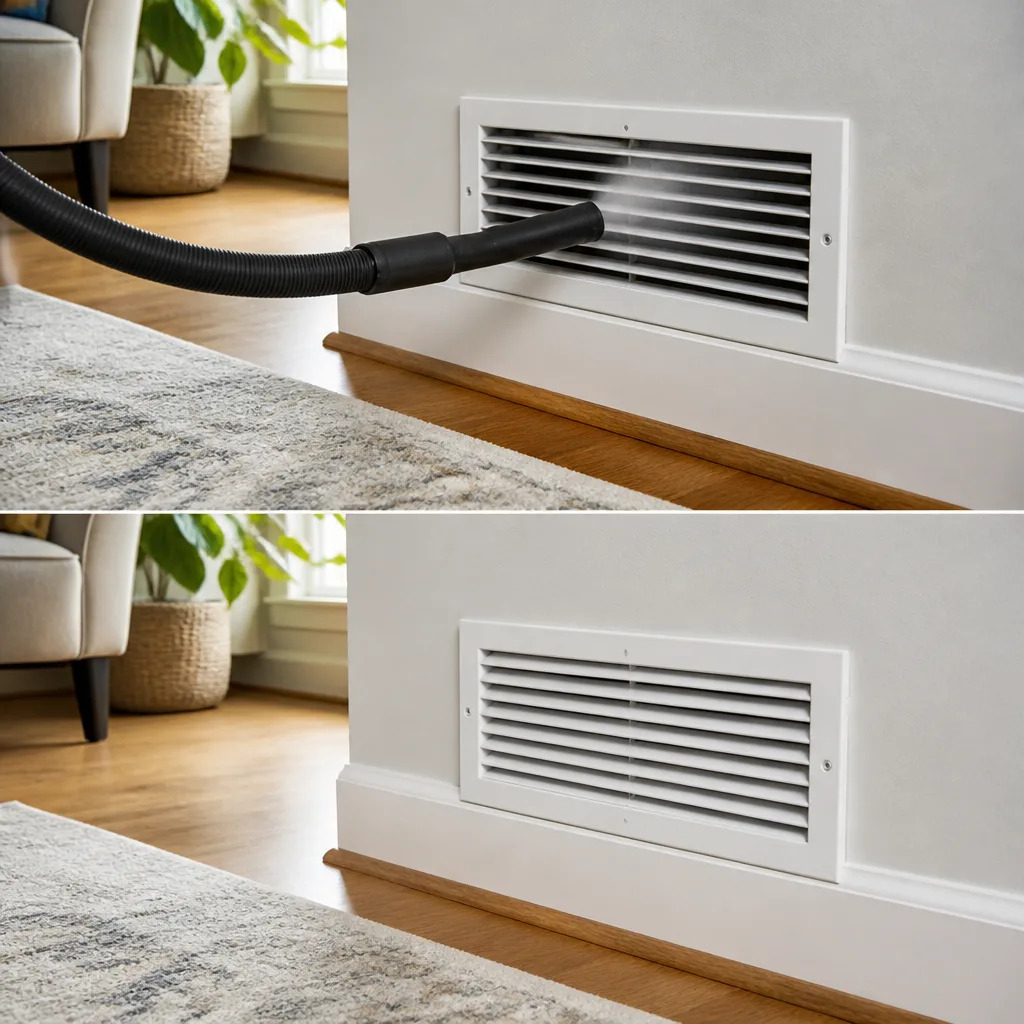 Sanitizing & deodorizing
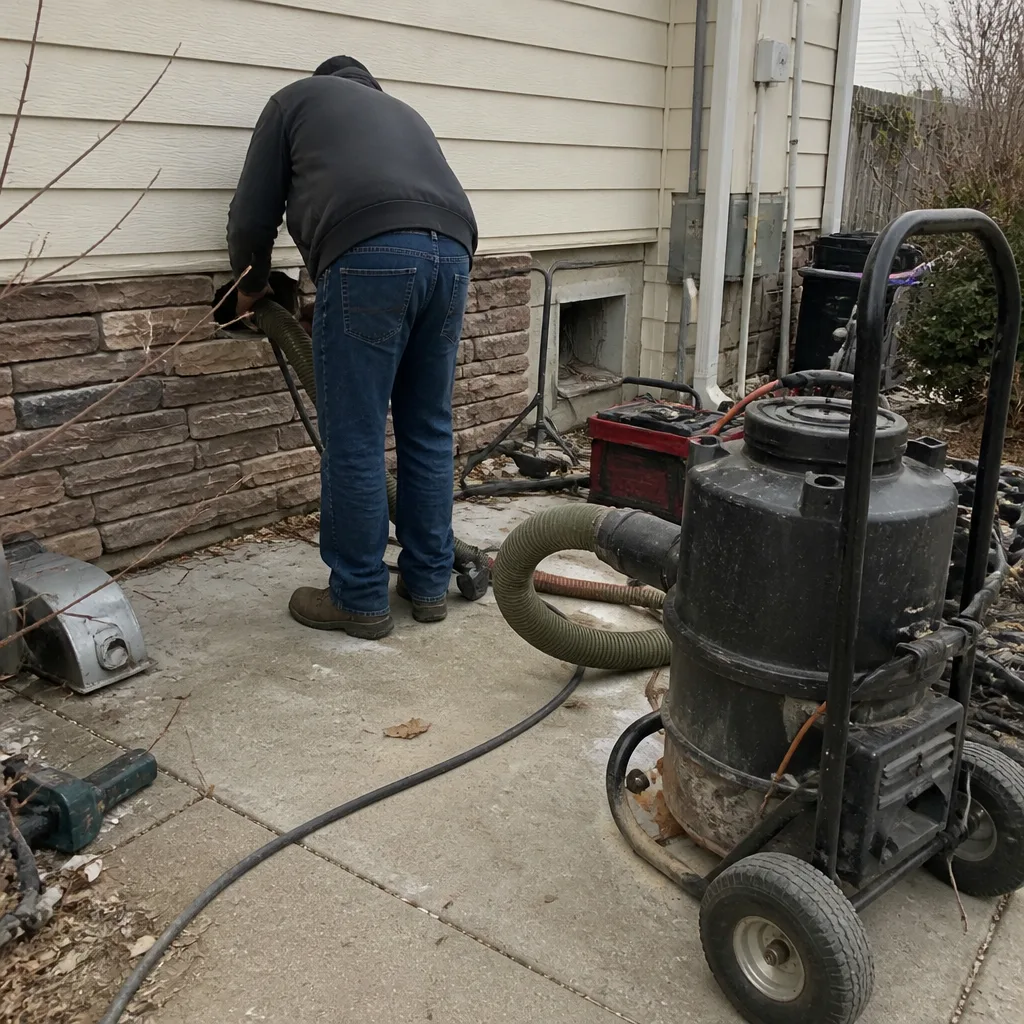
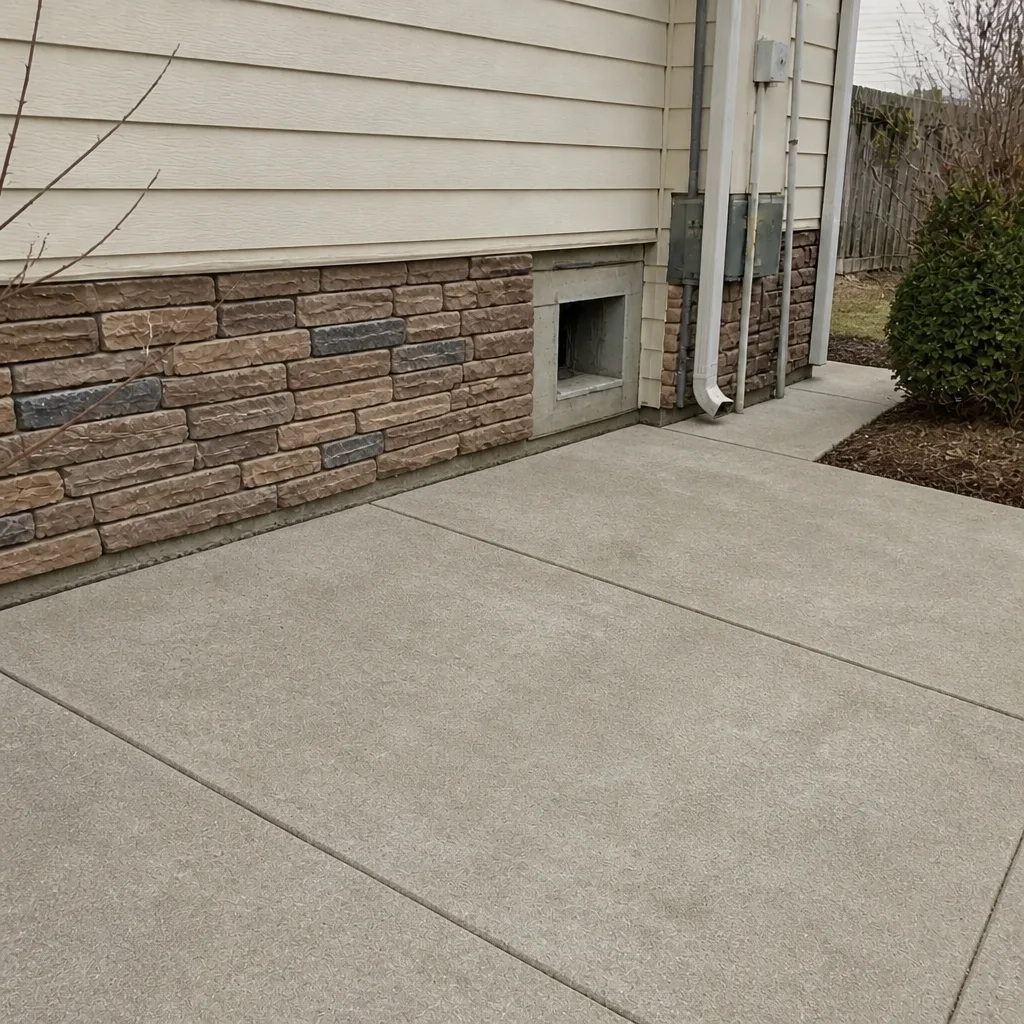
Whole-system duct and dryer vent check with before-and-after photos - you see exactly what came out of your vents
That "$99 whole-house special" is a bait ad - the real number appears once they are in your hallway, or the "clean" is a shop-vac at the register. We photograph the inside of your ducts before and after instead.
Air Duct Cleaning Maintenance Checklist for Thornton Homeowners
Changing your filter on schedule feels responsible. It is. But here’s the part that trips people up: a filter that’s doing its job is also a filter that’s been catching debris for months, and the dust that bypassed it or settled in your trunk lines last year is still sitting there. Filter swaps protect the blower; they don’t clean the ductwork. This guide gives you a checklist built around how homes in Thornton actually age – by build era, HVAC type, lot exposure to Front Range wind, and prior service history – so your intervals match your house instead of a generic calendar.
Quick Answer
Most Thornton homes benefit from a full duct cleaning and inspection every three to five years, with annual visual checks at the registers and a filter change according to your system’s spec. Homes with pets, recent renovation dust, or no documented service history should be inspected sooner. The checklist below tiers those intervals by build era and exposure so you’re not guessing.
Styles & brands we work with
- Whole-home duct cleaning
- Dryer vent cleaning
- Camera inspection
- Sanitizing & deodorizing
Table of Contents
- Tiering Your Inspection Intervals
- What You Can Check Yourself vs. What Needs Instruments
- Filter MERV Ratings and Duct Load
- The Post-Renovation Checklist
- How Thornton’s Climate Loads Your Ducts
- Logging Service Events So the Next Contractor Can Read the History
- Dryer Vents: A Separate Checklist Item
- Common Mistakes to Avoid
- When to Call a Professional
Tiering Your Inspection Intervals
Not every home in Thornton needs the same schedule. Build era matters more than square footage. A 1990s subdivision home with original galvanized trunk lines and flex branches collects debris differently than a newer build with sealed, insulated duct systems. Tier your intervals like this:
- Tier 1 – Homes with no documented service history: Inspect within the first year of ownership. New-home buyers inherit unknown HVAC history, and what looks clean at the grille often isn’t clean in the branches.
- Tier 2 – Homes with pets or allergy sufferers: Inspect every two to three years. Pet dander and hair bind with dust and accumulate faster than most people expect.
- Tier 3 – Homes near open corridors or active construction: Inspect every two years. Lots exposed to windblown Front Range dust along open corridors and near construction zones take on more particulate load.
- Tier 4 – Homes with documented service and no pets: Every three to five years, with an annual register check between services.
That last tier is the goal, not the starting point. Most homeowners don’t know where their house sits until a trained eye looks inside the system. When the inspection is done by a company that runs professional-grade equipment rather than a shop-vac and a coupon, the report tells you something useful about the next interval instead of just selling the current cleaning.
What You Can Check Yourself vs. What Needs Instruments
Some checklist items belong in your hands. Others need instruments that measure static pressure, airflow, and particulate load – tools a homeowner shouldn’t buy for one inspection. Knowing the line keeps you from wasting time and from missing something that actually needs attention.
Self-assessable items
- Register condition. Look at each supply and return grille. Dust streaks on the faceplate and a dark ring around the vanes suggest debris is moving through, not just settling.
- Visible mold at the grille. Any dark spotting on the register or the duct surface just inside it warrants a professional look. Don’t wipe and move on – find out why moisture is there.
- Airflow balance. Hold a tissue at each supply register. It should pull steadily. Weak output at one register and strong at another often points to a disconnected branch or a damper issue, not a cleaning problem.
- Rattles and popping. A duct that pops when the system cycles suggests pressure issues. Loose joints or undersized branches allow conditioned air to escape before it reaches the room.
- Filter condition and fit. Check the seating, not just the face. A filter that doesn’t sit flush lets air bypass the media, which loads the ductwork downstream.
Items that need instruments
Static pressure across the air handler, actual delivered airflow against the system’s spec, and particulate counts inside the trunk line are all instrument work. So is confirming whether a branch is genuinely clean after brushing. A mirror and a flashlight show you the first few inches; they don’t show what’s thirty feet down a flex run. Professional systems like the Rotobrush rotary-brush tool and Nikro HEPA-rated vacuums exist because the camera and the brush need to reach the same place at the same time.
Filter MERV Ratings and Duct Load
Upgrading to a higher-MERV filter without cleaning the ducts first backfires more often than people realize. Here’s why: a MERV-13 filter catches finer particles than a MERV-8, but it also creates more resistance across the media. On a system with partially blocked returns or a loaded trunk line, that added resistance drops delivered airflow, which the blower compensates for by working harder and pulling air through every gap it can find. The house gets less conditioned air, and the debris already in the ducts stays put.
The sequence that works:
- Get the ducts clean first. Don’t rely on a filter to sweep the system for you.
- Check the filter slot and return sizing. A high-MERV filter belongs in a slot deep enough to hold it without collapsing or bypass.
- Upgrade the MERV rating. Only after the ductwork is clean and airflow has been verified.
- Recheck static pressure. Confirm the system is still within spec after the filter change.
Owners of whole-home air-quality accessories should also verify compatibility. Systems from Honeywell and Aprilaire integrate with the ductwork at the return, and a cleaning crew that isn’t familiar with those components can disturb sensors or media cabinets. Professional crews that routinely service these systems know where to work and where to leave things alone. If your home came with a premium air-quality accessory already installed, the checklist should account for it before anyone touches the return plenum.
The Post-Renovation Checklist
Drywall dust and construction debris are the reason most homeowners who thought their ducts were fine suddenly aren’t. During a renovation, return-air grilles pull fine gypsum dust through the system, and it settles on duct surfaces where it can stay for years. Flooring replacement adds sawdust and adhesive particulate to the mix. If you’ve had work done, run this checklist:
- Photograph every grille before work starts if you’re planning the renovation – you’ll want the baseline.
- Seal the registers during work. A plastic film taped over the faceplates is cheap insurance. Returns matter most, since they pull air in.
- Schedule a full cleaning within 60 days of completion. Don’t wait for the dust to work its way into the branches. Once it settles deep in the run, it stays there until something reaches it.
- Inspect for dislodged or crushed flex runs. Drywall crews and flooring installers move through tight spaces and sometimes step on duct runs in the attic or crawlspace. Cleaning reveals what the work did.
- Repair what you find. A crushed branch or separated joint won’t fix itself after cleaning. Choose a company that offers air duct repair so a damaged run can be corrected in the same visit – no second contractor, no second appointment.
Containment during the cleaning matters here too. Fine construction dust is the kind of material that a shop-vac pushes into the air rather than captures. Professional crews that run Abatement Technologies negative-air and HEPA equipment keep that dust contained rather than redistributing it through the house.
How Thornton’s Climate Loads Your Ducts
Homes along the Front Range weather the same seasonal pattern that shapes the rest of Thornton. Dry winters pull moisture out of the air and out of the wood framing; spring wind carries fine particulate from open space and construction corridors; summer heat loads the system with a long cooling season. Each of those seasons leaves something behind inside a duct system.
What that means in practice:
- Winter: Low humidity dries out duct-seam tape and joint compound. Small leaks that let conditioned air escape in summer become more pronounced. Check attic runs for tape failures.
- Spring: Windblown dust enters the home at door sweeps and windows, and some of it ends up in the return-air stream. Homes near open corridors see more of it.
- Summer: Long cooling runs mean the evaporator coil stays wet more of the day. Any dust that reaches the coil becomes a growth surface. Register-side mold sightings peak in late summer.
- Fall: The system switches modes, and accumulated debris in the trunk line often announces itself as a smell on the first heat call of the season.
A checklist that ignores the local weather pattern is a checklist that reacts to problems instead of preventing them. If you’ve been through a full seasonal cycle without a register check, you’ve already missed your first checkpoint.
Logging Service Events So the Next Contractor Can Read the History
The single most useful thing you can do for future service is to log and date every service event. Most homeowners can’t tell a technician when the ducts were last cleaned, who did the work, or what was replaced. That gap makes every future diagnosis guesswork.
Build the log like this:
- Date and scope. Note the date, the service performed (cleaning, dryer vent, repair), and the rooms or runs involved.
- Findings. Note any mold spotted, joints repaired, or components replaced. A short note about “joint repaired at hall return” saves the next technician an hour of guessing.
- Filter changes. Date, MERV rating, and whether the fit is seated correctly. Log changes that came with a MERV upgrade so the record shows the sequence.
- Air-quality accessory service. If your home has a Honeywell or Aprilaire component, note when it was serviced and what was done.
- Equipment used. The cleaning method matters. Rotobrush rotary-brush systems and Nikro HEPA vacuums produce a different result than compressed air alone. The log tells the next crew what standard was set.
A written log turns a five-minute conversation with a technician into an informed one. More importantly, it lets a homeowner spot patterns – repeated condensation at one branch, repeated dust at one register – that a one-time visit might miss. When you’re evaluating whether it’s time for a professional service on your air duct maintenance in Thornton, the log is the most reliable evidence you have.
Dryer Vents: A Separate Checklist Item
Dryer vents get treated as a footnote in most duct checklists. They shouldn’t. Lint accumulation in a dryer exhaust is a documented fire risk, and a partially blocked vent also means the dryer runs longer, which drives up energy costs and shortens the life of the appliance. The vent isn’t part of the HVAC system, but it’s part of the air pathway in your home, and it deserves its own line item.
Add these to your annual checklist:
- Pull the dryer out and look at the transition hose behind it. Any crush or kink should be corrected.
- Inspect the exterior hood for lint or pest debris blocking the damper.
- Note the time a load of towels takes on the normal setting. If it’s creeping up, the vent is the first suspect.
- Schedule professional dryer vent cleaning on your tier schedule, not on your filter calendar. They aren’t the same interval.
Cleaning of this kind is one of the three services we handle directly, alongside duct cleaning and repair. It’s worth treating as its own scheduled event rather than a tag-on.
Common Mistakes to Avoid
- Skipping the inspection because the house looks clean. Dust in a duct system is invisible from the room. The register faceplate tells you something; the room doesn’t.
- Upgrading filter MERV before cleaning. A MERV-13 filter in front of a loaded return drops delivered airflow and lets the blower work harder for less result. Clean first, then upgrade.
- Using a coupon-priced cleaner with consumer-grade equipment. A shop-vac and a hose can knock loose surface dust but they don’t reach deep in the branches, and they can push displaced debris into the room rather than capturing it. Ask what equipment will be used before you book.
- Treating dryer vent cleaning as optional. The vent is not an air-quality upsell. It’s a fire risk that gets ignored because it’s behind the appliance.
- Not logging service events. Six months after a cleaning, most homeowners can’t recall the date or the scope. The log prevents the next contractor from starting blind.
- Ignoring airflow complaints. A weak register is not something that resolves on its own. It’s often the first sign of a disconnected or crushed branch, and a cleaning won’t fix a physical break. Repair does.
- Skipping the register check after a renovation. Drywall dust in a return line is not the same problem as a dirty filter. Both need attention, but only one of them needs professional equipment.
When to Call a Professional
Some checklist items are tasks for a homeowner. Others are genuinely a professional matter. Call when you notice mold or dark spotting at a register or in the duct surface visible from the grille, when airflow at one register is dramatically weaker than the others, when the system smells on the first heat or cool cycle after a renovation, when you’ve bought a home without documented service history, or when you’ve hit the cleaning interval on your tier and it’s time for an inspection by someone who can see what a flashlight can’t. The work involves reaching into spaces most homeowners can’t safely or properly access, and getting it right the first time matters. Duct Cleaning Thornton offers free estimates in Thornton – call (888) 495-2236. We answer 24/7. Fast dispatch from 7am to 7pm, Sunday through Friday. Our technicians have up to 12 years of experience and use professional-grade equipment, not a shop-vac and a coupon.
See the difference
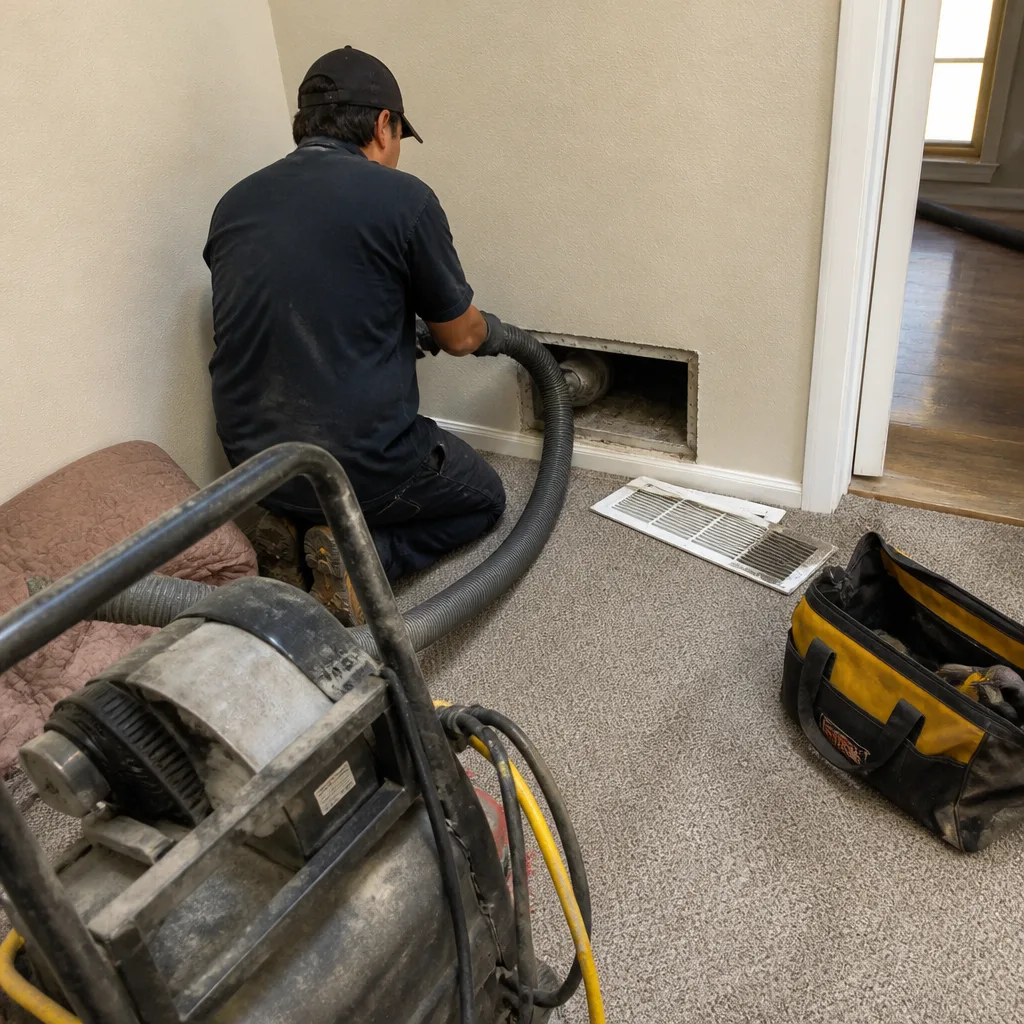 Before
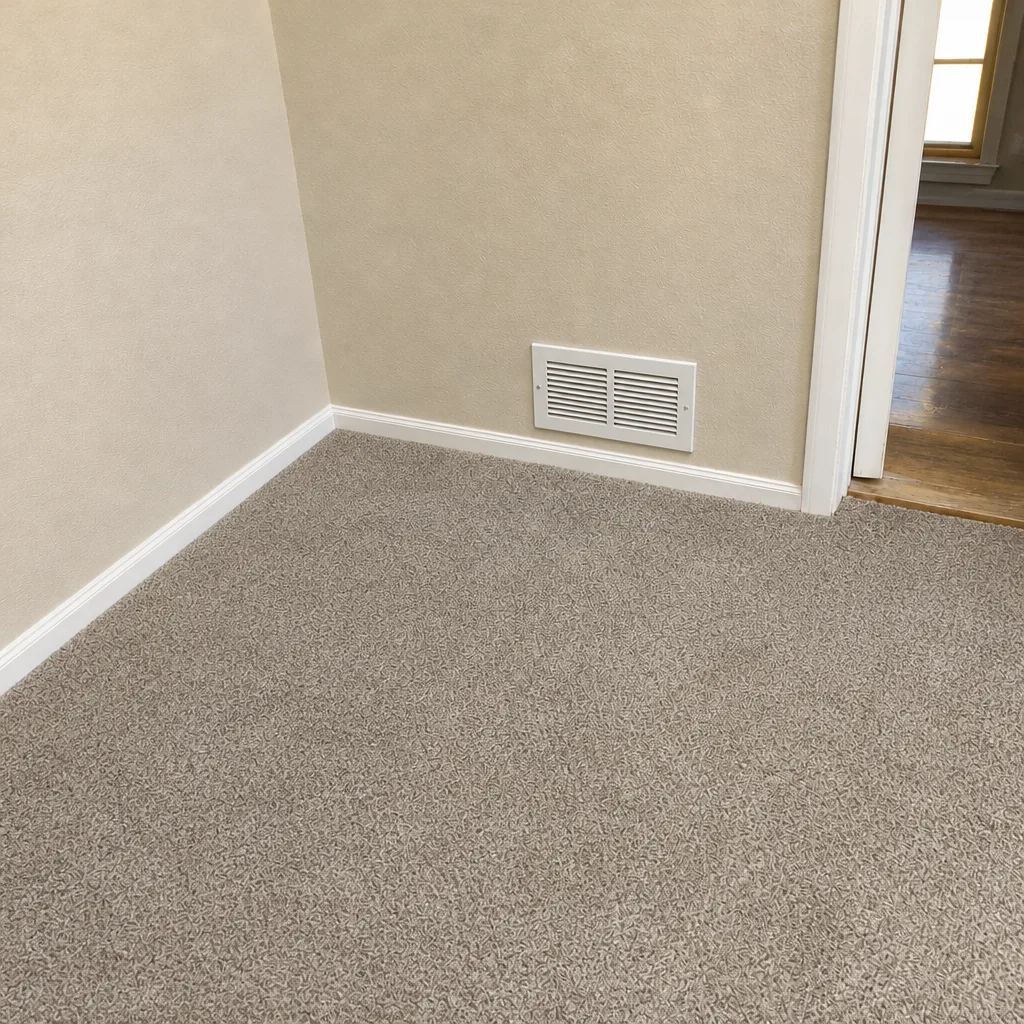 After
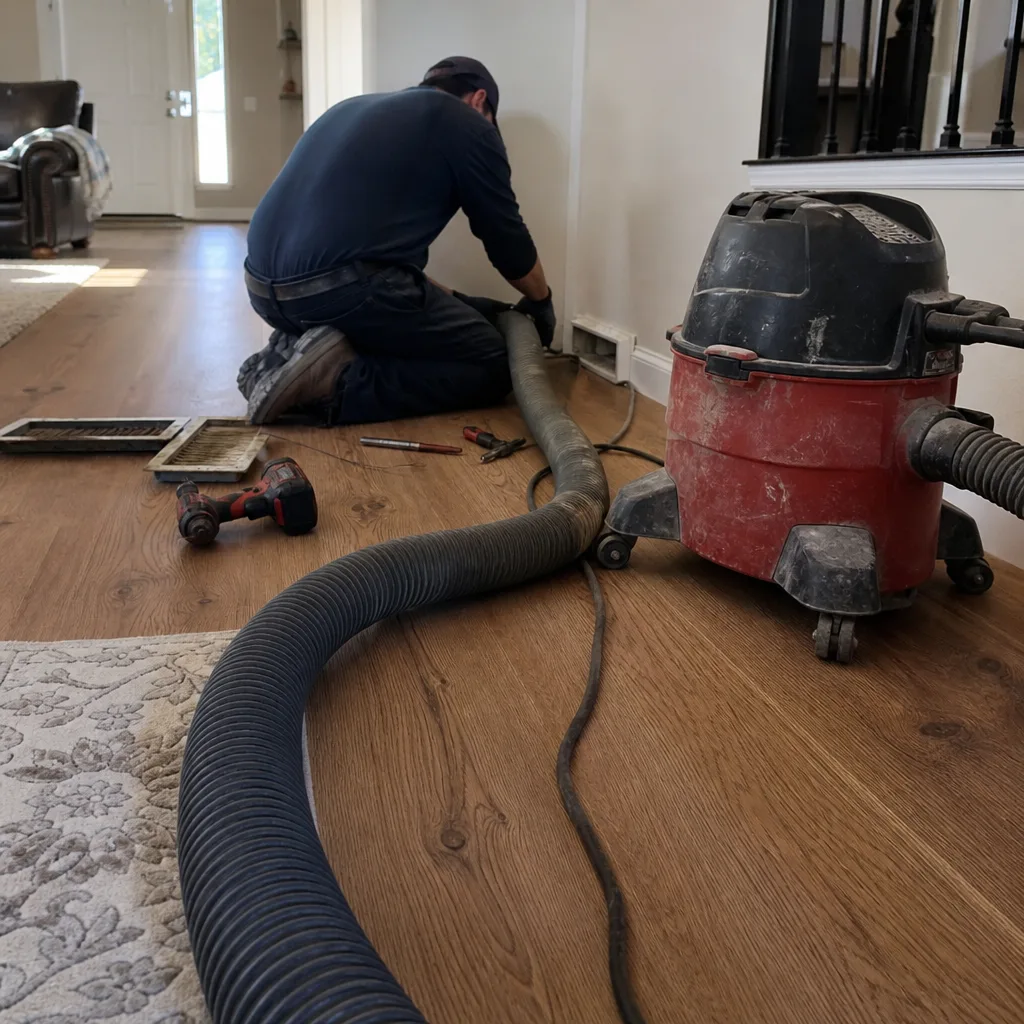 Before
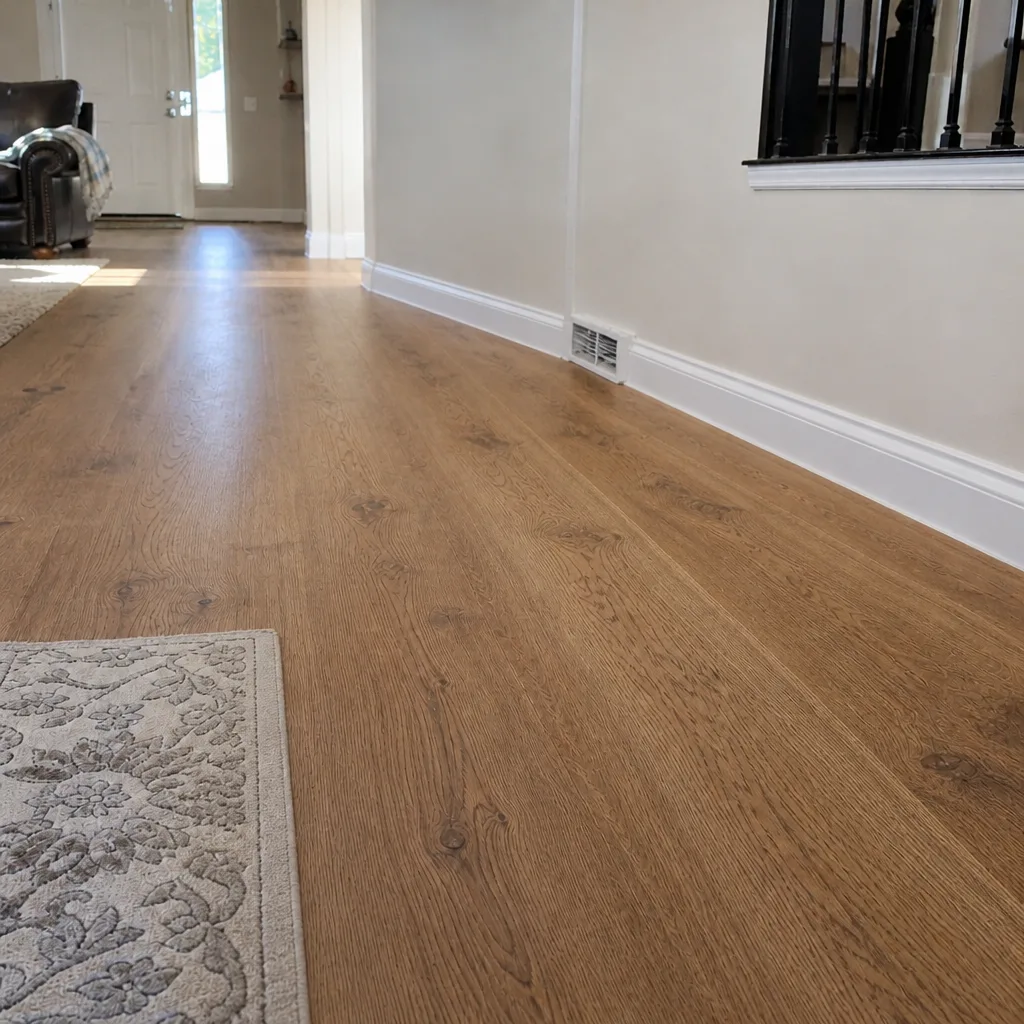 After
 Before
 After
Frequently Asked Questions
Most Thornton homes benefit from a full cleaning every three to five years if there’s documented prior service and no pets, with annual register and filter checks between services. Homes without service history, homes with pets, and homes near open corridors or active construction should be inspected sooner – every two to three years. The right interval depends on the specific home, not a single universal number.
Yes, because filter changes protect the blower and coil, not the ductwork itself. A filter that’s been catching debris for months means that debris passed through the return and settled in the trunk lines. The filter does its job; that doesn’t mean the ductwork stays clean. An inspection tells you what your filter schedule can’t.
The right MERV rating depends on your system’s return sizing and filter slot depth, not just the climate. MERV-8 to MERV-11 works for most homes; MERV-13 is fine but only after the ductwork is clean and airflow has been verified, since the higher rating adds resistance. Upgrading to MERV-13 without cleaning first can drop delivered airflow.
Consumer-grade equipment drives the low bid. A shop-vac and a single hose can’t reach deep in the branches, and they displace dust rather than contain it. Professional systems – Rotobrush rotary-brush cleaning paired with Nikro HEPA-rated vacuums and Abatement Technologies containment equipment – cost more to operate, which is why the quotes reflect it. Ask what equipment will be used on your home before you book.
Schedule a full cleaning within 60 days of the renovation being completed. Drywall dust and flooring debris collect in the return lines especially, and once it settles deep in a run, it takes professional equipment to reach. If the cleaning reveals a crushed branch or a separated joint, have it repaired in the same visit rather than waiting for airflow complaints.
Ask for before-and-after photos of your own ductwork. A crew that photographs the work will show you the trunk and branches, not just a receipt. Ask what standard they work to as well – HEPA-rated containment during the job is a real indicator of professional discipline. And agree on a single flat price per job before work starts, so there’s no surprise invoice after.
Check the faceplates for dark dust streaks and any spotting that could be mold, and hold a tissue at each supply register to confirm the airflow pulls steadily. A weak register is a symptom worth flagging to a technician. The register check takes five minutes and catches most problems early.
The Bottom Line
A duct maintenance checklist is only useful if it’s built for your home. Tier your inspection intervals by build era, pets, and lot exposure to wind and construction. Check your registers yourself; verify airflow, static pressure, and duct interior with professional equipment when the interval arrives. Clean before you upgrade a filter’s MERV rating. Log every service event with a date and scope. Treat the dryer vent as its own scheduled item. And if you’ve recently renovated, schedule the cleaning sooner rather than later. For duct cleaning, dryer vent service, and repair in a single engagement with equipment that matches the job, call (888) 495-2236 for a free estimate. We answer 24/7. Fast dispatch from 7am to 7pm, Sunday through Friday.
Written by the team at Duct Cleaning Thornton.